

Refinish Wood Furniture Like a Pro: A Transformative Journey
In a world where mass production frequently enough overshadows the beauty of handcrafted artistry, the allure of wood furniture endures, embodying stories of craftsmanship and personal touch. Over time, though, even the most beloved pieces can lose their luster, becoming dull and worn under the scrapes of daily life. But fear not! With a little ingenuity and the right techniques, you can breathe new life into your cherished wood furnishings, transforming them from faded relics into stunning centerpieces once more. This article will guide you through the essential steps and expert tips for refinishing wood furniture like a professional, equipping you with the knowledge and confidence to embark on this rewarding DIY adventure. So gather your tools, roll up your sleeves, and let’s dive into the art of restoration!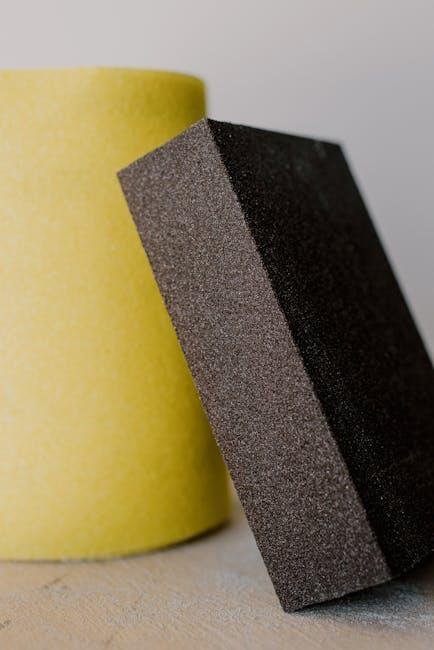
Choosing the Right Tools and Materials for a Flawless Finish
When embarking on your furniture refinishing journey, selecting the right tools and materials is crucial for achieving a stunning, professional-grade finish. Start by gathering high-quality sandpaper in various grits, typically ranging from 80 to 220. This variation allows you to strip away old finishes effectively and smooth the surface for a polished look. Additionally, consider investing in sanding blocks or palm sanders to make the process more efficient.
Don’t overlook the importance of wood stain and finish options. Choosing a stain that complements the natural beauty of the wood can enhance the overall aesthetic. Look for water-based stains for a low odor and easy cleanup, or oil-based stains for deeper penetration and richness in color. Always remember to have disposable brushes or quality paint applicators on hand to avoid brush marks in your final layer.
Moreover, having the right safety equipment is essential. equip yourself with respirators and safety goggles to protect against dust and fumes.it’s also wise to work in a well-ventilated area. To help you make your choices easier,here’s a simple table summarizing the essential tools and their purposes:
| Tool/Material | Purpose |
|---|---|
| Sandpaper | To prepare the surface by smoothing or stripping paint |
| Sanding Block | For better control and even sanding |
| Stain | Adds color and enhances wood grain |
| Finish | Protects the wood and provides a glossy or matte surface |
| Brushes | apply stain and finish without streaks |
| Safety Gear | protects from dust and fumes during refinishing |

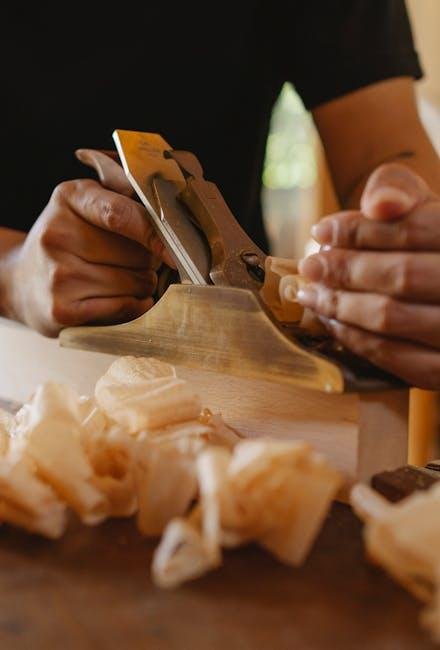
Preparing Your Wood Furniture: Essential Cleaning and Sanding Techniques
Before diving into the refinishing process, it’s crucial to prepare your wood furniture properly. To start, gather your supplies including mild soap, water, soft cloths, and wood cleaner specifically designed for the type of finish on your furniture. Begin by dusting the surface thoroughly to eliminate any grit or dirt that could scratch the wood during sanding. Following this, create a gentle cleaning solution using soap and water to wipe down the furniture, allowing it to dry completely. For areas with stubborn stains or a buildup of grime, consider using a wood cleaner for a more thorough cleanse, taking care to follow the manufacturer’s instructions.
Once your furniture is clean and dry,the next step is sanding to create a smooth surface for refinishing. Use a fine-grit sandpaper (220 grit is ideal) to gently sand the entire surface, following the grain of the wood. Be mindful of the pressure applied; too much can lead to visible scratches. Here’s a swift checklist of sanding techniques to keep in mind:
- Always sand in the same direction as the grain.
- Use a sanding block for flat surfaces to maintain even pressure.
- Pay close attention to edges and corners where the finish might potentially be more worn.
After sanding, it’s essential to remove any dust particles to ensure a flawless finish. Use a damp cloth or a vacuum with a brush attachment to eliminate dust. Following this, let the surface dry completely before applying your chosen stain or finish.

Staining and Sealing: Achieving the Perfect Color and Protection
When it comes to enhancing the natural beauty of wood furniture, staining plays a crucial role. Choosing the right stain is essential, as it can drastically alter the appearance of your piece. Consider the following options for achieving a stunning finish:
- Gel Stain: Perfect for vertical surfaces; provides even color distribution.
- Water-Based Stain: Fast-drying and low odors, ideal for indoor projects.
- Oil-Based stain: Deep penetration and richer tones; however, it has longer drying times.
Once you’ve achieved the desired color, sealing your wood furniture is paramount to protect your investment.A quality sealant will guard against moisture, stains, and wear. When selecting a sealant, keep these factors in mind:
| Sealant Type | Best For | Finish |
|---|---|---|
| Polyurethane | High-traffic areas | Glossy to matte |
| Spar Urethane | Outdoor furniture | Flexible and durable |
| Varnish | All-purpose use | Clear, amber, or colored finishes |
Final Touches: Techniques for a Professional-Looking Shine
Achieving a professional-looking shine involves several meticulous steps that elevate your refinishing project.After sanding your wood furniture, ensure a clean surface by wiping away any dust with a tack cloth. This simple yet vital action prevents debris from marring the finish. Next, applying a high-quality wood conditioner can substantially enhance the wood’s absorption of stain, resulting in a more uniform and vibrant appearance. When it comes to the application of your finish, whether it’s varnish, polyurethane, or oil, consider using a fine-bristle brush or a foam applicator for the smoothest results. Always apply in the direction of the grain for the best outcome.
To achieve that glossy glow reminiscent of professional craftsmanship, follow up with a light sanding between coats of finish. Use a very fine grit sandpaper (around 400-grit) to ensure that the surface is perfectly smooth and ready to receive subsequent layers. Buffing is key—once your final coat has dried,utilize a microfiber cloth or a buffing pad to gently polish the surface,revealing a radiant sheen. for an extra touch of luxury,consider applying a wax finish as a final layer. This not only adds depth to the shine but also provides a protective barrier against scratches and wear. Below is a quick overview of tools you may need for that immaculate finish:
| Tool | Purpose |
|---|---|
| Fine-bristle Brush | For smooth finish application |
| Tack Cloth | To remove dust and debris |
| Fine Grit Sandpaper | To sand between coats |
| Microfiber Cloth | For buffing the final coat |
| Wax Finish | For ultimate shine and protection |
Wrapping up
As you embark on your refinishing journey, remember that each stroke of sandpaper and application of stain carries the potential to breathe new life into your cherished wood furniture. With patience and practice, the art of refinishing can transform not only your pieces but also your understanding of craftsmanship. Whether you’re giving an old heirloom a second chance or revamping a vintage find, the skills you’ve acquired are your tools, and the final outcome is a testament to your dedication and creativity. So, roll up your sleeves, embrace the process, and let your furniture reflect your unique style. Happy refinishing!

