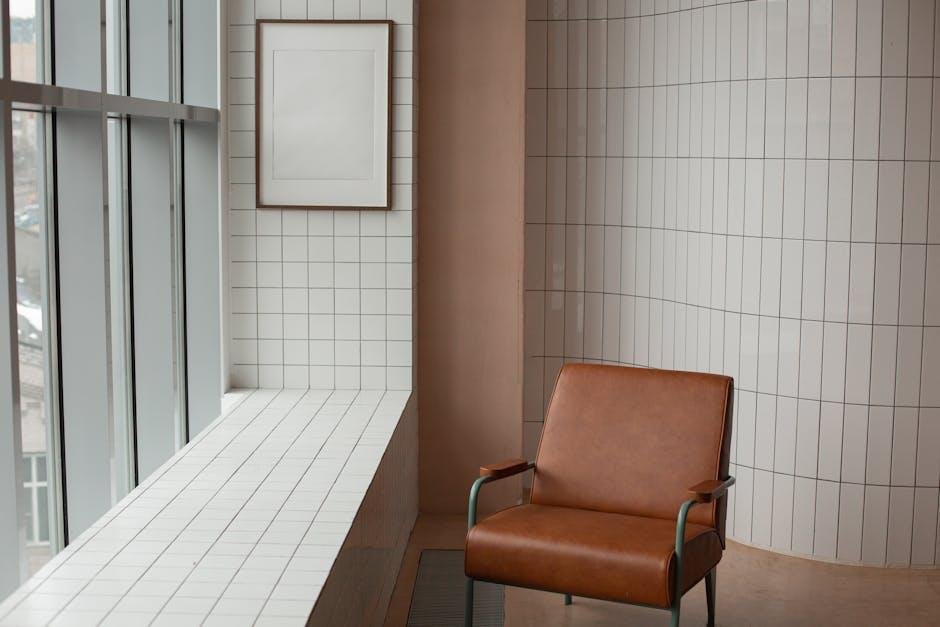
Imagine a cozy nook bathed in natural light, where you can curl up with a good book or sip your morning coffee while gazing at the world outside. A DIY window seat not only enhances the aesthetic appeal of your space but also offers a functional storage solution for those items that often clutter our homes. Transforming an underutilized corner into a charming retreat is easier than you might think—especially when you can tailor it to fit your style and needs. In this article, we’ll explore the step-by-step process of creating your own window seat with built-in storage, blending creativity with practicality to bring this inviting space to life. Whether you’re an experienced DIYer or a novice looking to pick up a new skill, you’ll find inspiration and guidance to help you on your journey toward crafting the perfect window seat. Let’s dive in!
Choosing the perfect Location for Your Window Seat
When planning your window seat,the location is key to maximizing both functionality and aesthetics. Look for a spot that receives ample natural light throughout the day, enhancing your space’s ambiance. consider areas near existing windows that offer a picturesque view of your garden, street, or even the skyline. The following factors can help you choose the ideal spot:
- Proximity to Nature: Placing your window seat where you can gaze at greenery or flowers can create a serene environment.
- Light Traffic Areas: Avoid high-traffic spots to ensure your window seat is a cozy retreat rather than a bustling thoroughfare.
- Accessibility: Ensure the location allows for easy access to books, coffee tables, or other furnishings that complement your window seat.
In addition to light and traffic considerations, think about how the window seat will fit into your home’s overall layout. As a notable example, consider the flow of the room and whether the seat could effectively function as a divider or a focal point. if you have children or pets, ensure that the spot is safe and practical. A few practical tips include:
- Measure the Space: Check dimensions to ensure your design will fit comfortably without crowding.
- Consider Temperature: Choose a spot that is insulated from drafts; placing a seat in direct sunlight can also make it warm and inviting.
- Harmonize with Decor: Match the window seat style and colour with the surrounding decor to create a cohesive look.

designing a Functional Storage Solution
When crafting a window seat with storage, it’s essential to prioritize both form and function. Start by measuring your window space accurately to ensure that your DIY project fits seamlessly within the area. Choose materials that complement your room’s decor while providing durability. Plywood or MDF can serve as a sturdy base,while upholstery fabric can add a cozy touch. Its a good idea to think about how you’ll use the storage beneath the seat. Consider incorporating d pull-out drawers or lift-top compartments to keep blankets, books, and other essentials organized and easily accessible.
Another crucial aspect of a functional storage solution is maximizing the space you have.Implementing a few design strategies can make a notable difference in usability:
- Adjustable shelving: Allows flexibility for different storage needs.
- Cushioned seating: Provides comfort while disguising the storage beneath.
- Vertical dividers: Keep items organized and prevent them from shifting around.
Additionally, consider aesthetics when choosing hardware and finishes. Water-resistant paint can protect your seat from spills, while decorative knobs can enhance the overall look. A well-thoght-out design not only elevates your decor but also transforms the underutilized space into a functional storage haven.

Selecting Materials and Finishes for Your Project
When embarking on your DIY window seat project, the selection of materials and finishes plays a pivotal role in defining the overall aesthetic and functionality of the piece. Wood is frequently enough the top choice for constructing the base due to its durability and natural beauty. You might consider using plywood or solid hardwoods, depending on your budget and desired finish. For the cushion, opt for high-density foam to ensure comfort, and choose a fabric that complements your decor—think cotton, canvas, or even water-resistant materials for added practicality. Here’s a swift list of suggested materials:
- Wood: Plywood, Oak, or Birch
- Foam: High-density or Memory Foam
- Fabric: Cotton, Canvas, or Outdoor Fabrics
- Finishes: Paint, Stain, or Sealant
Finishing touches can elevate the window seat from a simple project to a stunning focal point in your room.Use non-toxic stains to enhance the wood’s grain, and apply a protective sealant to ensure longevity. If you’re leaning towards a painted finish, consider a palette that harmonizes with your home’s color scheme. additionally, adding accents such as decorative trim or aged brass hardware can amplify your design. A quick reference table detailing popular finishes may help in your decision-making:
| Finish Type | Durability | Recommended Use |
|---|---|---|
| paint | Medium | colorful accents or bold designs |
| Stain | High | Natural wood preservation |
| Sealant | Very High | Protection against wear |

Personalizing Your Window Seat with Decor and Comfort
Your window seat can transform into a cozy nook by incorporating a variety of decor and comfort elements that reflect your personal style. Start by selecting plush cushions to create an inviting space. Consider mixing and matching textures like velvet, cotton, or linen to add depth. Enhance the aesthetic by layering in a soft throw blanket—think chunky knits or vibrant colors that complement your room’s palette. Adding a small, stylish side table can also enhance functionality, providing a perfect spot for your favorite book or a steaming cup of tea.
To add character, don’t shy away from artful decorations. Hang an array of plants on the windowsill to breathe life into your space; succulents or trailing vines are excellent choices that require minimal maintenance. A small vase with fresh flowers or dried arrangements can serve as a cheerful centerpiece. If you have extra storage built into your window seat, make the most of it with decorative baskets or stylish boxes to keep items organized yet charming. By thoughtfully selecting your decor and comfort items, your window seat can become a true reflection of who you are.
Wrapping Up
As we close the curtain on our exploration of the DIY window seat with storage, we invite you to envision the cozy moments that await you in this delightful nook. Whether you use it as a peaceful retreat for reading, a practical spot for stashing away your belongings, or a charming display area for your favorite plants, this project embodies both functionality and aesthetic appeal. remember, each window seat is as unique as the home it inhabits, so let your creativity guide you as you gather materials and design your space. With just a little effort and imagination, you can transform an ordinary corner into a magical sanctuary that not only enhances your living area but also enriches your daily life. so roll up your sleeves,unleash your inner designer,and enjoy the process—because at the end of the day,your DIY window seat is more than just a piece of furniture; it’s a canvas for comfort and a testament to your personal style. Happy crafting!


