

Make your Own Floating Shelves: A Creative Guide to Organized Elegance
In an era where space is often at a premium, the quest for both functionality and aesthetics in home decor has never been more pertinent. Enter floating shelves—a striking solution that marries practicality with artistic flair. These minimalist marvels not only provide a versatile platform for your cherished books, plants, and decor items but also open up a world of creative possibilities for your living space. Whether you’re looking to showcase your favorite treasures or simply declutter a room, crafting your own floating shelves is an engaging DIY project that invites personal expression. In this article, we will guide you through the process of creating stunning, custom floating shelves that not only enhance your home’s visual appeal but also reflect your unique style.Get ready to elevate your spaces with a touch of ingenuity and craftsmanship!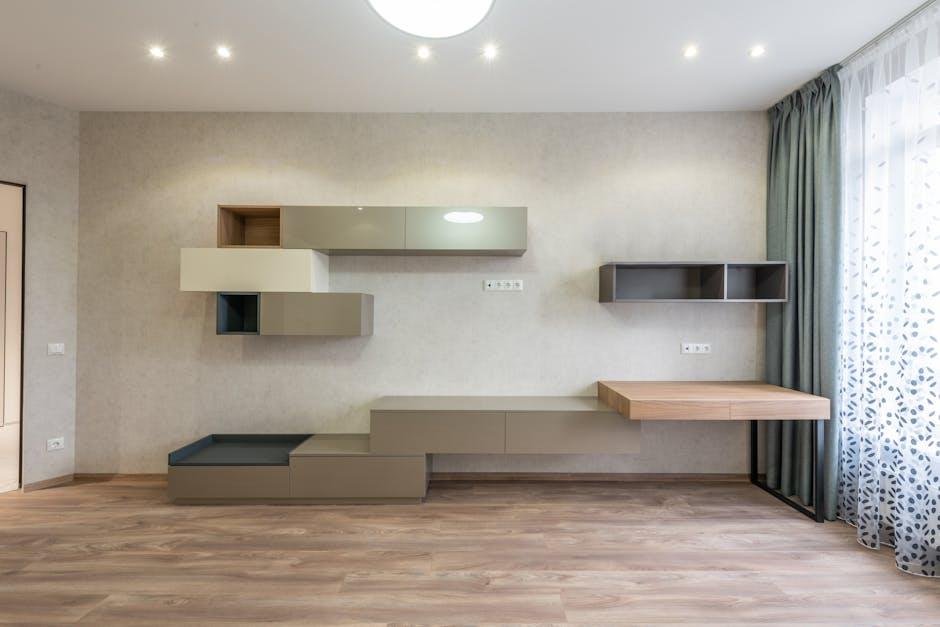
Exploring the Benefits of Floating Shelves for Home Décor
Floating shelves not only provide a sleek, modern aesthetic but also optimize your living space. They seamlessly blend function and style, allowing you to display your favorite decor items without the bulk of conventional shelving units. Here are some compelling benefits of incorporating floating shelves into your home:
- Space-saving: Perfect for smaller rooms, floating shelves utilize vertical wall space while keeping the floor area free.
- Versatile Designs: Available in various materials and finishes, they can match any interior theme, from industrial to cozy farmhouse.
- Easy Installation: Most floating shelves are simple to install, requiring minimal tools and skills.
- Personalization: You can customize the arrangement and height of your shelves to create a unique display tailored to your style.
In addition to their aesthetic appeal, floating shelves can also contribute to your home’s functionality. They can serve as a useful platform for a variety of items, enhancing organization while making your favorite pieces stand out. Consider the following uses for floating shelves:
| Use | Description |
|---|---|
| book Display | Showcase your literary collection while keeping it accessible. |
| Plants | Add a touch of greenery without taking up floor space. |
| Artwork | Highlight your favorite art pieces to create a personal gallery wall. |
Essential Materials and Tools for Crafting Your Own Floating Shelves
To craft stunning floating shelves, you’ll need a blend of materials that not only ensure durability but also enhance the visual appeal of your space. Start with solid wood or plywood for the shelves themselves, as these materials provide strength and a stunning finish. For secure installation, look for heavy-duty brackets or rail systems compatible with wall mounting. You may also require wood screws, wall anchors, and a level to ensure precise alignment.It’s crucial to gather the following items before you begin:
- Solid wood or plywood
- Heavy-duty brackets
- Wood screws
- Wall anchors
- Level
- Sandpaper
- Paint or wood stain
- Measuring tape
In addition to the essential materials,having the right tools can substantially streamline your crafting process. A drill for making pilot holes and driving screws is invaluable. You should also consider using a hand saw or circular saw for cutting your shelves to the desired length. To give your floating shelves a polished look, equip yourself with a sander or sanding block to smooth rough edges, and have paint brushes or a roller on hand for applying finishes. Here’s a quick overview of the tools you’ll need:
| Tool | Purpose |
|---|---|
| Drill | For pilot holes and driving screws |
| Hand saw / Circular saw | Cutting shelves to size |
| Sander / Sanding block | Smoothing edges |
| Paint brushes / Roller | Applying finishes |

Step-by-Step Guide to Building and Installing Floating Shelves
Building and installing floating shelves can be a rewarding project that enhances the aesthetics of any room. Start by gathering your materials, wich may include:
- Plywood or MDF boards – Choose a thickness that suits your style and weight capacity.
- Brackets – Hidden brackets or L-brackets depending on the type of floating shelf you desire.
- Wood screws and anchors – Ensure they’re appropriate for the wall type.
- Sandpaper – For smoothing the edges and surfaces.
- Paint or stain – To finish the look of your shelves.
After preparing your materials, take time to plan where the shelves will go. Use a level to mark the wall at desired heights, ensuring they’re evenly spaced. Measure and cut the boards to your required lengths, making sure to pre-drill holes for your brackets to avoid splitting the wood. once the brackets are securely fastened to the wall, slide the shelves onto the brackets and double-check their alignment with a level. Voilà! You just created a stylish and functional addition to your home.

Styling tips for showcasing Your Floating Shelves Effectively
To truly highlight the beauty of your floating shelves, consider playing with color schemes that complement the rest of the room. Neutral tones like white, beige, or light gray can create an airy feel, while darker shades, such as navy or charcoal, lend an air of sophistication. Mixing textures also adds depth; think of combining natural wood with sleek metal brackets. You can enhance visual interest further by arranging items in varying heights. As a notable example, place taller books at the back and smaller decorative objects at the front to maintain visibility and balance.
Another effective approach is to curate a theme for your displays. Here are some ideas to inspire you:
- Nature-inspired: Incorporate plants, stones, or seashells for a fresh feel.
- Travel memories: Showcase souvenirs, postcards, and maps from your journeys.
- Literary haven: Line up your favorite books, mixing in framed quotes and literary art.
Limit clutter to keep the shelves looking sleek. A good rule of thumb is to leave some space empty to let the design breathe. Consider the use of trays and baskets to organize smaller items while adding an extra layer of style. By combining thoughtfulness in arrangement with a distinct theme, your floating shelves can transform from mere storage solutions into captivating focal points of your home.
The Way Forward
As we conclude our journey into the realm of floating shelves, it’s clear that these versatile additions can transform any space into a functional and visually appealing haven. By embracing your creativity and taking on this DIY project, you not only create a unique feature that reflects your personal style but also enhance the organization of your home. Whether you opt for sleek minimalism or rustic charm, the possibilities are endless. now armed with the tools and techniques to bring your vision to life, it’s time to roll up your sleeves and let your imagination take flight. happy building!

